
Resin 3D‑printing is more complex than other technologies due to variables such as exposure accuracy, peel forces and workflow stability. This article explains the most common resin 3D‑printing defects and the technical steps to solve them. If you prefer a visual explanation, Hiro Creations shared a video with practical troubleshooting tips. Use the validated resin settings for your printer to avoid exposure related failures.
Table of contents
- Build plate adhesion failure
- Regular layers delaminate from bottom layers
- Random support failure
- Support tip failure
- Random part failure
- Rough surface
- Random holes
- Ragging defects
- Extreme lines visible in the part
- How to fix failures with Wax Castable resin
- How to fix failures with Composite X resin
Most common resin 3D‑printing fails and how to fix them
Before troubleshooting specific printing issues, check whether your printer already has validated resin profiles. These pre‑settings eliminate most exposure‑related failures and provide a stable baseline for consistent results. After any print failure, always filter the resin to remove cured debris that can damage the film or cause repeated failures.
General tips and tricks:
- – Keep the resin temperature at least at room temperature (20C / 68F)
- – Clean working area
- – Check resin viscosity and temperature to ensure consistent curing behavior
1) Build plate adhesion failure
One of the most common issues is when a part does not stick to the build plate at all. First determine whether the first layers cured correctly on the film. If no cured material is present, the light source (LCD, DLP or mirrors) may not be functioning. Run an exposure test and contact the hardware manufacturer if no light is visible.
If the first part of your STL file is in the resin tank, then it usually means that the part delaminated from the build plate halfway the build. In this case you can increase the bottom exposure time with 10-20% and it is usually fixed.
A third and most common scenario is that nothing is attached to the build plate, and that on the bottom of the resin tank is a few millimeters of solidified resin. This usually means that the first layer did not stick well to the build plate and failed right away. Before looking into the settings, re-calibrating your build plate as good as you can. A badly calibrated build plate will always result in adhesion issues. There are a few ways to fix this:
- – Recalibrate your build plate
- – Increase the bottom layer exposure time
- – Increase the amount of bottom layers
- – Increase the wait time before lift on the bottom layers
- – Decrease the lift speed and retract speed of the bottom layers
All these modifications will help in getting a stronger adhesion to the build plate and reduce the chance of failure. Strong bottom layer adhesion is essential for preventing early delamination and stabilizing peel forces during the first millimeters of the print.
2) Regular layers delaminate from bottom layers
If regular layers fail to bond to the bottom layers, the transition between high‑exposure bottom layers and normal layers is not optimal. The exposure time of the bottom layers is higher to get a good adhesion to the build plate. Sometimes the regular have difficulties to adhere to the bottom layers. This can be solved in a few ways:
- – Reduce the exposure time of the bottom layers. (don’t reduce it so much that adhesion failures occur)
- – Increase the exposure time of the regular layers
- – Increase the wait time before lift
- – Decrease the lift speed and retract speed
3) Random support failure
Most parts need to be printed on supports. Support failures happen at the support tip (see next point) or randomly during in the support structure. When it is happening randomly, there are a few ways to fix this:
- – Increase the exposure time of the regular layers
- – Increase the wait time before lift
- – Decrease the lift speed and retract speed
- – Increase the support thickness
Random support failures often indicate insufficient curing or excessive peel forces during the mid‑section of the print.
4) Support failure tips
Sometimes the supports print correctly, but the model detaches at the support tips and fails to form the first connected layers. In most cases this failure happens at the support tips. There are a few ways to fix this:
- – Increase the support thickness
- – Increase the support tip thickness
- – Increase the support intersection
- – Increase the wait time before lift
- – Decrease the lift speed and retract speed
5) Random part failure
When a part fails randomly, meaning that everything is printed nicely and suddenly the part starts to fail locally. there can be a few causes and different ways to fix this:
- – Increase the exposure time of the regular layers
- – Increase the wait time before lift
- – Decrease the lift speed and retract speed
- – Increase the support thickness
Local failures often occur when exposure stability, support strength or peel forces fluctuate during tall or thin geometries.
Support
Do you need any help with 3D printing our SLA, DLP or LCD resins? We can help you! Just look for the question you have below. If you can’t find it, let us know by contacting us!
Printer Settings →
Find quality 3D-printing resins
-
Gingiva Mask
Price range: €48,95 through €797,72 ex. VAT -
Dental Model Pro Grey
Price range: €48,95 through €797,72 ex. VAT -
Clear Impact
Price range: €46,95 through €740,72 ex. VAT -
Try-out Bundle with 3 premium resins
Price range: €73,95 through €179,95 ex. VAT
6) Rough surface
When a part finishes printing but the surface appears rough or uneven, the most common causes are incorrect exposure, insufficient wait time or excessive lift speed. Under‑cured parts often show an orange‑peel texture, while over‑cured parts develop a grainy or overly hard surface.
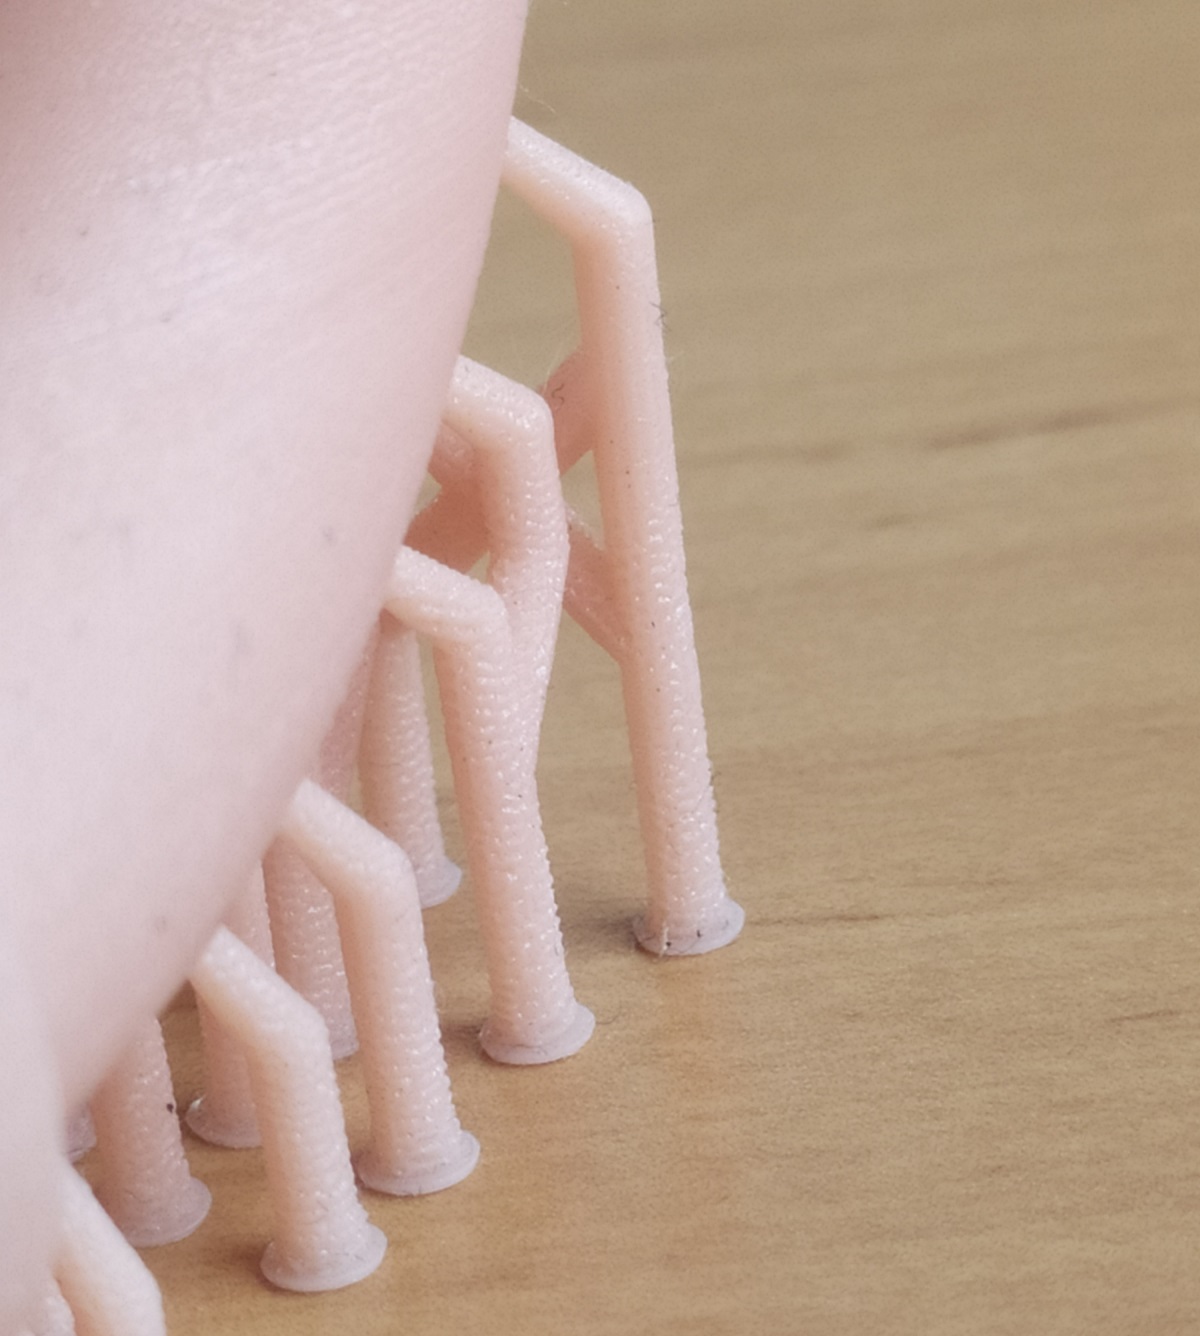
Surface roughness typically indicates instability during the peel cycle, where resin flow, exposure accuracy and lift dynamics interact.
7) Random holes
Random holes or missing sections in a print usually indicate insufficient curing, inadequate wall thickness or trapped pressure inside hollow areas.
- – Part is under-exposed. Increase the exposure time of the regular layers
- – Wall thickness is too low. Increase the wall thickness of the design if possible
- – Part has (partial) hollow area without drain holes. Either add a drain hole, place the part on supports or slow down the print speed significantly that the pressure can be released slowly.
Holes caused by trapped pressure are especially common in hollow models without proper venting, as resin cannot escape during the peel movement.
8) “Ragging defects”
Ragging defects appear as thin strands or sheets of semi‑cured resin attached to the model. They occur when layers shift slightly during the peel cycle or when exposure is too low for stable layer bonding. There are a few ways to solve this:
- – Increase the exposure time of the regular layers
- – Increase the wait time before lift
- – Decrease the lift speed and retract speed
- – Increase the support thickness
Ragging is often a sign that the model or supports are flexing during the peel motion, causing partially cured resin to detach and accumulate.

Image by Formlabs: Ragging defects on a Form 2 resin print due to insufficient curing.
9) Extreme lines visible in the part
Extreme horizontal lines in a print can originate from mechanical instability or incorrect exposure settings. Always verify build plate leveling and Z‑axis stability before adjusting print parameters. The following settings can be causing extreme layer lines:
- – Over-curing the part. Check if the parts are over-cured, if so, reduce the exposure time of the regular layers
- – Increase the wait time before lift
- – Decrease the lift speed and retract speed
Pronounced layer lines typically indicate inconsistent curing or mechanical vibration during the Z‑axis movement.
10) How to fix 3D-print failures with Wax Castable resin
Wax‑based resins require specific exposure and movement settings due to their higher viscosity and reduced light penetration. Detailed troubleshooting steps for Wax Castable can be found in the wax 3D-print resin troubleshooting guide.
10b) How to fix 3D-print failures with Composite-X resin
Composite‑filled resins are more sensitive to peel forces and require optimized exposure, slower lift speeds and stable support structures. All troubleshooting guidance for Composite‑X is available here. Find tips and tricks when working with Liqcreate Composite-X.
Feel free to contact us at info@liqcreate.com if you have any questions, or need help from a resin 3D-printing expert at Liqcreate.
FAQ
Why do my resin prints keep failing? Resin prints often fail due to incorrect exposure, unstable supports or peel forces that exceed the strength of the first layers.
How do I fix under cured resin prints? Increase exposure time in small steps, raise wait time before lift and ensure resin temperature is stable.
Why do I get holes in my resin prints? Holes are caused by under exposure, thin walls or trapped pressure in hollow models without drain holes.
How do I prevent layer lines in resin printing? Check Z axis stability, reduce exposure if over curing occurs and lower lift speed to reduce vibration.
What causes ragging defects in resin printing? Ragging occurs when layers shift during the peel cycle or when exposure is too low for stable bonding.
