
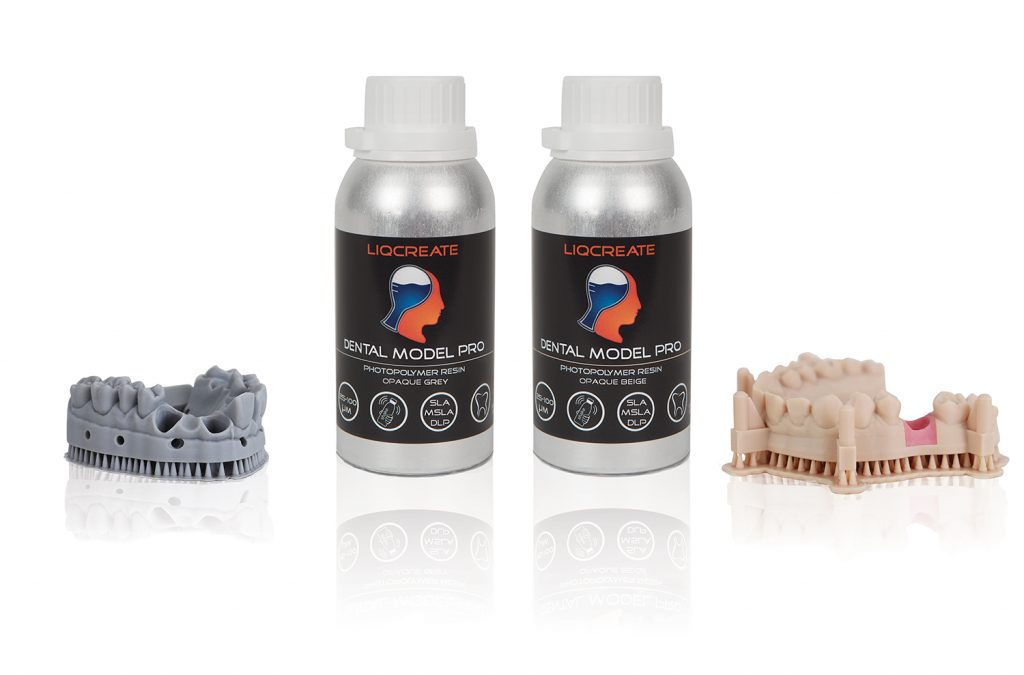
Why Dental Model Accuracy Validation Is Inherently Limited
Accuracy validation in dental 3D‑printing is constrained by practical limitations. Most laboratories do not have access to high‑end coordinate measuring machines or fully controlled environmental chambers. 3D scanners and optical comparators introduce their own measurement uncertainty, and reference models are never perfectly ideal. Validation therefore focuses on understanding deviation patterns and acceptable tolerance windows rather than proving absolute dimensional perfection. The goal is to determine whether a given printer–resin–workflow combination consistently produces models that fall within clinically acceptable ranges. Foundational accuracy behavior and measurement principles are detailed in the Printer accuracy and calibration overview.
Clinical Tolerances and Indication‑Specific Requirements
Validation must start from clinical reality. Different indications impose different tolerance requirements on printed models. Crown and bridge dies demand tight marginal accuracy and stable proximal contacts. Aligner models require consistent arch form and smooth occlusal surfaces across series. Splints and night guards depend on stable occlusal relationships and predictable thickness. Implant‑related geometries are highly sensitive to cumulative error in height, angulation and platform position. Laboratories should define indication‑specific tolerance windows and use these as the benchmark for evaluating validation results. Guidance on accuracy expectations for dental applications is provided in the Printer accuracy and calibration page.
Reference Models and Geometry‑Driven Failure Detection
Validation relies on reference models that expose specific types of deviation. Simple cubes and stepped features reveal global scaling behavior and Z‑axis repeatability. Thin walls and narrow gaps highlight overcure, undercure and resin‑dependent shrinkage. Circular apertures and cylindrical features expose optical distortion, pixel‑bleeding and edge rounding. Margin‑like edges and occlusal‑like surfaces reveal how well fine dental detail is preserved through printing and post‑processing. By combining multiple geometries in a single test set, laboratories can detect different failure modes in one validation series. Reference models and calibration patterns used for accuracy assessment are linked from the Printer accuracy and calibration article.
Mechanical and Optical Contributors to Validation Results
Validation data reflects the combined influence of mechanical and optical behavior. Z‑axis mechanics, including lead screw quality, linear guide alignment, backlash and lift profiles, affect vertical repeatability and layer stacking. Optical systems, whether LCD, MSLA or DLP, influence XY edge fidelity, pixel‑transition sharpness, optical diffusion and spatial uniformity across the build plate. Pixel‑bleeding, diffuser inconsistencies, LED intensity variation and projection geometry can all contribute to regional dimensional differences. Understanding these mechanical and optical contributors helps laboratories interpret deviation patterns and decide whether observed errors are correctable through calibration or inherent to the system. Mechanical and optical accuracy behavior is discussed in the Printer accuracy and calibration page.
Resin Chemistry, Cure‑Depth Behavior and Shrinkage
Resin behavior is a central factor in dental model accuracy validation. Photoinitiator absorption, pigment loading, filler content and viscosity all influence cure‑depth gradients and polymerization kinetics. Resins formulated for 385 nm light typically show sharper polymerization boundaries and reduced scattering compared to 405 nm systems, which can improve edge fidelity in filled or pigmented materials. However, higher reactivity can also increase shrinkage if exposure and post‑cure parameters are not controlled. Shrinkage occurs during polymerization and post‑curing as polymer chains densify and residual monomer is converted. Validation must therefore consider both initial print dimensions and post‑cure behavior. Resin‑specific handling, exposure guidance and wavelength considerations are provided in the Dental resin instructions overview.
Measurement Tools, Uncertainty and Practical Limits
Validation measurements are only as reliable as the tools and procedures used. Digital calipers and micrometers provide direct contact measurements but are limited in capturing complex surfaces. Optical comparators and 3D scanners can map entire geometries but introduce their own resolution limits, calibration requirements and alignment uncertainties. In practice, laboratories should accept that measurement uncertainty is part of the process and focus on consistent, repeatable procedures rather than chasing absolute values. Measurement protocols should define how models are aligned, which features are measured, how many samples are taken and how data is recorded. Measurement techniques and deviation mapping approaches are described in the Printer accuracy and calibration article.
Repeatability, Reproducibility and Drift Over Time
Validation is not a one‑time event. Repeatability describes how consistently a single printer–resin–workflow combination reproduces the same geometry over multiple builds. Reproducibility describes how similar results are across different printers, operators or environments. Drift over time can occur due to mechanical wear, optical component aging, resin handling changes or workflow modifications. Laboratories should perform periodic validation series to detect changes in deviation patterns and determine whether recalibration, maintenance or workflow adjustments are needed. Systems with stable repeatability and limited drift are better suited for high‑volume dental production. Comparative repeatability and reproducibility assessment methods are linked from the Printer accuracy and calibration overview.
Calibration and Workflow Control as Validation Prerequisites
Meaningful validation requires a stable baseline. Printer calibration for XY scaling, Z‑axis alignment, optical uniformity and exposure behavior must be performed before validation measurements are taken. Resin handling should follow consistent protocols for mixing, temperature conditioning and filtration where applicable. Environmental factors such as temperature, vibration and ambient light should be controlled as far as practical. Post‑processing workflows, including washing, drying and post‑curing, must be standardized across validation series. Without this baseline control, validation results primarily reflect uncontrolled variability rather than true printer and resin performance. Calibration methodology and workflow integration are described in the Printer accuracy and calibration article and the Dental workflows overview.
Post‑Processing as a Source of Dimensional Change
Post‑processing is often underestimated in validation workflows, yet it can introduce significant dimensional changes. Washing in aggressive solvents can soften surfaces or remove partially cured material. Drying behavior can cause warping or local deformation if models are unsupported or unevenly exposed. Post‑curing adds energy that drives further polymerization and shrinkage, especially in thicker sections or highly filled resins. Validation protocols should clearly state whether measurements are taken before or after post‑curing and ensure that post‑processing steps are consistent across all test models. Adjustments to post‑cure time, intensity and temperature may be necessary to maintain clinically relevant tolerances. Post‑processing guidance and its impact on dimensional stability are detailed in the Dental workflows page.
Interpreting Deviation Patterns and Failure Modes
Validation data becomes meaningful when deviation patterns are linked to underlying causes. Horizontal expansion or contraction may indicate exposure imbalance, optical diffusion or resin shrinkage. Vertical drift and height variation can point to Z‑axis hysteresis, lift profile issues or platform misalignment. Edge rounding and loss of fine detail often reflect overcure, pixel‑bleeding or post‑processing softening. Regional distortion and inconsistent cure depth across the build plate may indicate optical non‑uniformity, LED falloff or diffuser inconsistencies. By mapping these patterns to specific failure modes, laboratories can decide whether a printer–resin–workflow combination is suitable for high‑precision dies, aligner models, splints or implant‑related geometries. Structured troubleshooting for deviation patterns is detailed in the Dental 3D‑printer troubleshooting article.
Building a Practical Validation Framework for Dental Workflows
A practical validation framework does not aim to eliminate all deviation, but to understand and control it within clinically acceptable limits. Laboratories can combine indication‑specific tolerances, reference models, controlled calibration routines, standardized measurement procedures and periodic validation cycles into a coherent quality‑control loop. Validation results help qualify new printers, resins and workflows before clinical use and monitor ongoing performance in production environments. Even with limited equipment, structured validation provides more reliable insight than relying solely on supplier marketing claims. Workflow‑level integration of validation, calibration and troubleshooting is described in the Dental workflows overview.
Support
Do you need any help with 3D printing our SLA, DLP or LCD resins? We can help you! Just look for the question you have below. If you can’t find it, let us know by contacting us!
