
Accurate dental 3D printing does not stop at exposure settings and printer calibration. Washing and curing have a direct impact on dimensional accuracy, surface quality and long term stability of dental models, gingiva masks, castable parts and trays. Incorrect washing or overcuring can introduce distortion, warping or fit issues, even when the printer and resin settings are correct.
This article explains how to wash and cure Liqcreate dental resins with a focus on accuracy. It provides practical, lab tested guidelines for solvent selection, wash times, agitation, drying and post curing parameters, so dental labs can standardize their post processing and achieve predictable results across supported LCD, DLP and SLA printers.
- Recommended solvents and washing methods for dental resins
- Accuracy focused wash times and agitation strategies
- Drying procedures before post curing
- Post curing time, temperature and positioning guidelines
- Integration with printer settings and shrinkage compensation
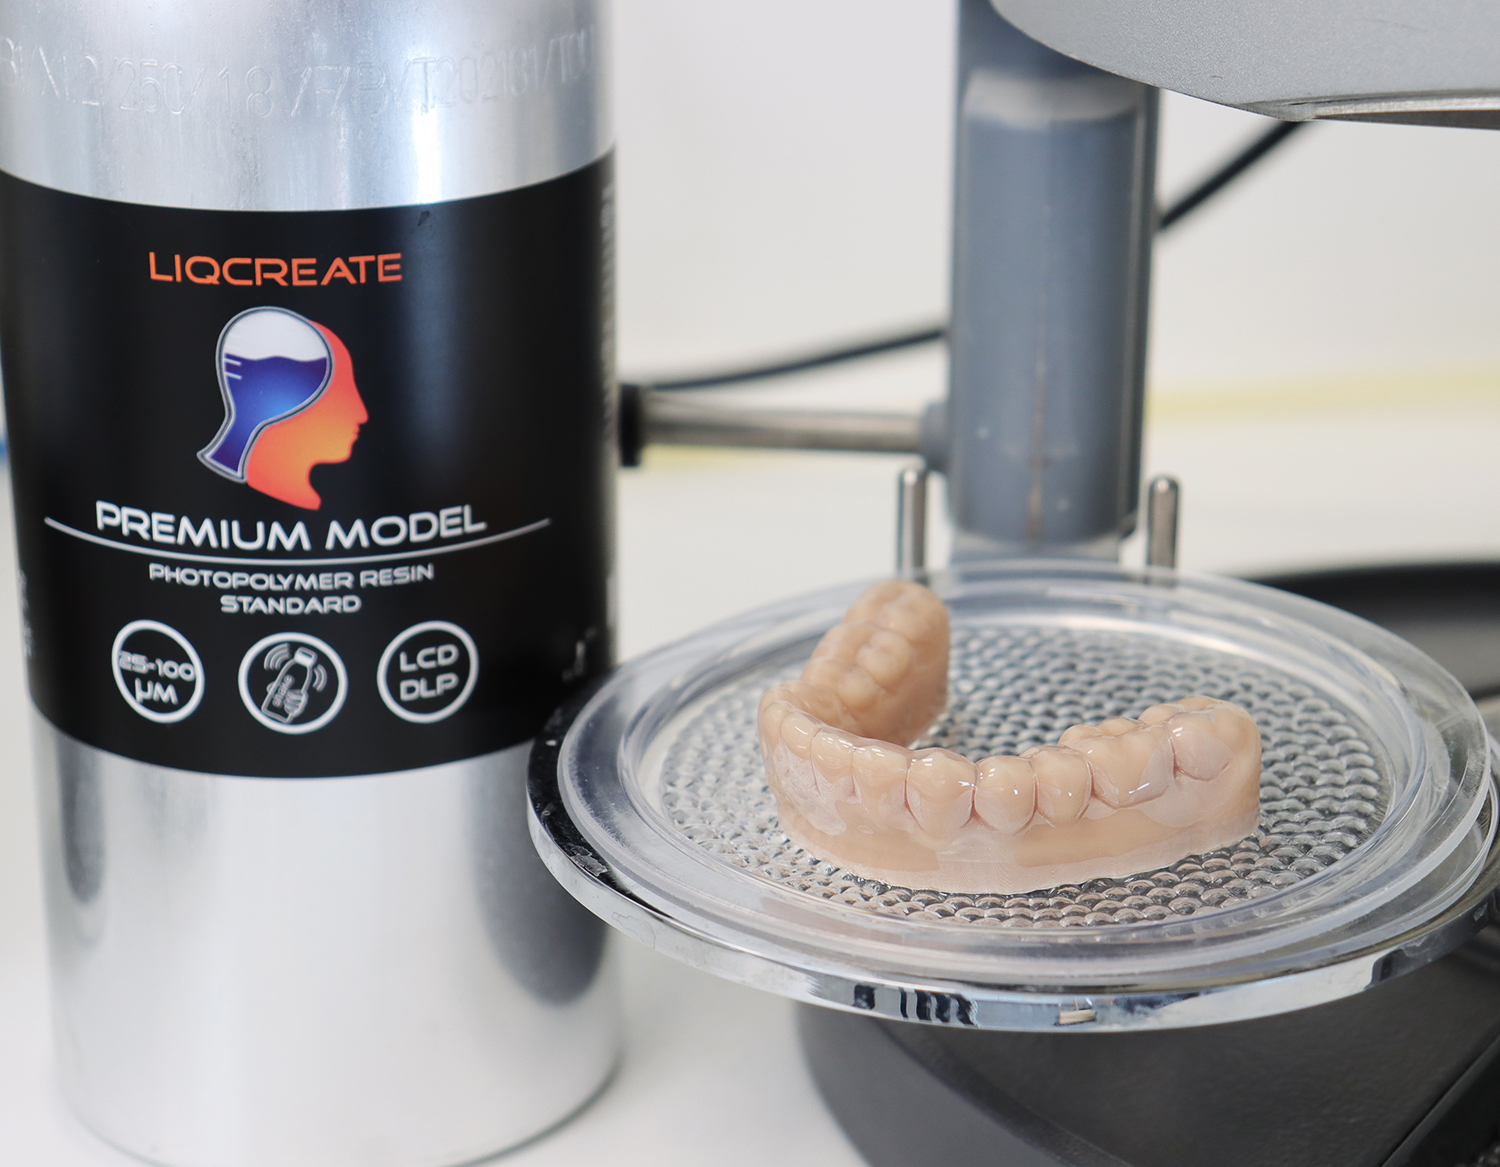
Solvent selection for washing dental resins
The choice of washing solvent influences surface quality, residual resin removal and long term stability. Liqcreate dental resins can be washed in isopropyl alcohol or compatible alternative solvents, provided that exposure times and saturation levels are controlled.
For most dental applications, a two stage wash process is recommended. The first bath removes the majority of uncured resin, while the second bath finishes the cleaning with a fresher solvent. This reduces contamination and helps maintain consistent washing performance over time.
- Use clean, filtered solvent for the final wash stage whenever possible.
- Replace or filter solvent regularly to avoid redepositing resin on parts.
- Avoid excessive wash times that can soften fine details or introduce swelling.
For general resin processing guidelines and solvent compatibility information, see the Liqcreate processing overview at the Dental Resin Instructions hub.
Washing parameters for dental accuracy
Washing must remove uncured resin without damaging fine details or altering dimensions. The optimal wash time depends on the resin, part geometry, printer and washing equipment, but the following principles support accuracy focused workflows.
Stage one wash
Use the first bath to remove the bulk of uncured resin from the surface.
- Place parts in a basket or holder that avoids contact marks on critical surfaces.
- Use moderate agitation or rotation to improve solvent flow around details.
- Limit wash time to two minutes to remove visible resin.
Stage two wash
Use a second, cleaner bath to complete the cleaning process.
- Wash for 2 minutes again and avoid overexposure to solvent.
- Ensure that small features and internal areas are fully flushed.
- Inspect parts visually to confirm that no glossy resin film remains.
For printer specific exposure settings and shrinkage compensation values that complement these washing steps, refer to the Dental 3D printers hub and the Shrinkage Compensation Database.
Drying parts before post curing
Residual solvent on the surface can interfere with post curing and affect accuracy. Parts should be fully drained and dried before entering the curing unit.
- Allow parts to drip dry after washing until no solvent is visibly running.
- Use compressed air with care to remove solvent from internal areas without deforming thin walls. Or let the part sit on a desk of a well ventilated area for 30 minutes.
- Ensure that the surface appears matte and free of wet spots before curing.
Inadequate drying can lead to surface tackiness, chalky surface, uneven curing or localized distortion, especially on thin or highly detailed dental models.
Post curing for dimensional stability
Post curing completes polymerization and stabilizes the mechanical properties of the resin. However, excessive curing time or temperature can increase shrinkage and introduce stress. The goal is to reach the validated cure level for each resin without overcuring.
Positioning in the curing unit
- Place parts so that light reaches all surfaces as evenly as possible.
- Avoid stacking parts in a way that blocks light from critical areas.
- Rotate parts during curing if the unit does not provide uniform exposure.
Time and temperature
- Follow the resin specific curing times recommended in the individual instruction pages.
- Use curing units with stable, documented output suitable for dental applications.
- Avoid significantly extending curing times beyond validated values unless required by regulation and verified by testing.
For detailed, resin specific curing parameters, see the individual instruction pages for Premium Model, Dental Model Pro, Gingiva Mask, Separation Model, Wax Castable and Tray.
Minimizing distortion and warping
Even with correct washing and curing, some geometries are more sensitive to distortion. Combining proper post processing with suitable design and orientation strategies helps maintain dimensional stability.
- Use balanced support placement to reduce stress during printing and curing.
- Avoid extremely thin, unsupported sections in critical fit areas.
- Control curing temperature to prevent thermal deformation of thin parts.
For a deeper discussion of design and orientation strategies to reduce warping, see How to avoid warping in dental models.
Linking washing and curing to accuracy validation
Washing and curing parameters should be validated as part of the overall accuracy workflow. When labs measure model accuracy or fit, the post processing steps used must be consistent and documented, otherwise results are difficult to reproduce.
To integrate washing and curing into a complete accuracy validation process, combine the recommendations in this article with the protocols in the Printer Accuracy and Calibration hub and the data in the Shrinkage Science hub. This allows labs to link printer settings, shrinkage compensation and post processing into a single, traceable workflow.
Related dental 3D printing hubs
This article is part of the Liqcreate dental 3D printing knowledge structure. Use the related hubs below to connect washing and curing protocols with materials, printers and complete workflows.
- Dental 3D printing knowledge center – main entry point for all dental 3D printing content.
- Dental resins hub – overview of Liqcreate dental materials, indications and properties.
- Dental resin instructions hub – resin specific protocols for Liqcreate dental materials.
- Dental 3D printers hub – printer families, model specific settings and validation articles.
- Dental workflows hub – end to end workflows for dental models, gingiva masks, castables and trays.
Conclusion – Standardizing wash and cure protocols for reliable accuracy
Washing and curing are critical steps in achieving accurate, stable dental 3D printed parts. By standardizing solvent selection, wash times, drying procedures and curing parameters, dental labs can reduce variability and improve the predictability of their Liqcreate resin workflows.
Use this article as a reference when defining standard operating procedures for dental 3D printing. Combined with resin specific instructions, printer settings, accuracy validation and shrinkage compensation, these washing and curing guidelines help build a robust digital dentistry workflow that delivers consistent, clinically relevant results.
Support
Do you need any help with 3D printing our SLA, DLP or LCD resins? We can help you! Just look for the question you have below. If you can’t find it, let us know by contacting us!
